In this tutorial we are going to learn how to install Keptn in your Kubernetes cluster running in Pivotal Container Service (PKS).
Please download and install the following tools if you do not have them installed on your machine already.
We are going to setup a Kubernetes cluster.
Pivotal Container Service (PKS)
- Install local tools
- Create PKS cluster on GCP
- Use the provided instructions for Enterprise Pivotal Container Service (Enterprise PKS) installation on GCP
- Create a PKS cluster by using the PKS CLI and executing the following command:
// set environment variables
CLUSTER_NAME=name_of_cluster
HOST_NAME=host_name
PLAN=small
pks create-cluster $CLUSTER_NAME --external-hostname $HOST_NAME --plan $PLAN
Find a full compatibility matrix for supported Kubernetes versions here.
Every release of Keptn provides binaries for the Keptn CLI. These binaries are available for Linux, macOS, and Windows.
There are multiple options how to get the Keptn CLI on your machine.
- Easiest option, if you are running on a Linux or Mac OS:
This will download and install the Keptn CLI automatically.curl -sL https://get.keptn.sh | sudo -E bash - Another option is to manually download the current release of the Keptn CLI:
- Download the version for your operating system from Download CLI
- Unpack the download
- Find the
keptnbinary in the unpacked directory
- Linux / macOS: Add executable permissions (
chmod +x keptn), and move it to the desired destination (e.g.mv keptn /usr/local/bin/keptn) - Windows: Copy the executable to the desired folder and add the executable to your PATH environment variable.
Now, you should be able to run the Keptn CLI:
- Linux / macOS
keptn --help - Windows
.\keptn.exe --help
To install the latest release of Keptn in your PKS cluster, execute the keptn install command with the platform flag specifying the target platform you would like to install Keptn on.
keptn install --platform=pks
Installation details
In the Kubernetes cluster, this command creates the keptn, keptn-datastore, and istio-system namespace. While istio-system contains all Istio related resources, keptn and keptn-datastore contain the complete infrastructure to run Keptn.
Now that you have installed Keptn you can take a look at its user interface aka the Keptn's Bridge.
Expose the bridge via the following command to be able to access on localhost:
kubectl port-forward svc/bridge -n keptn 9000:8080
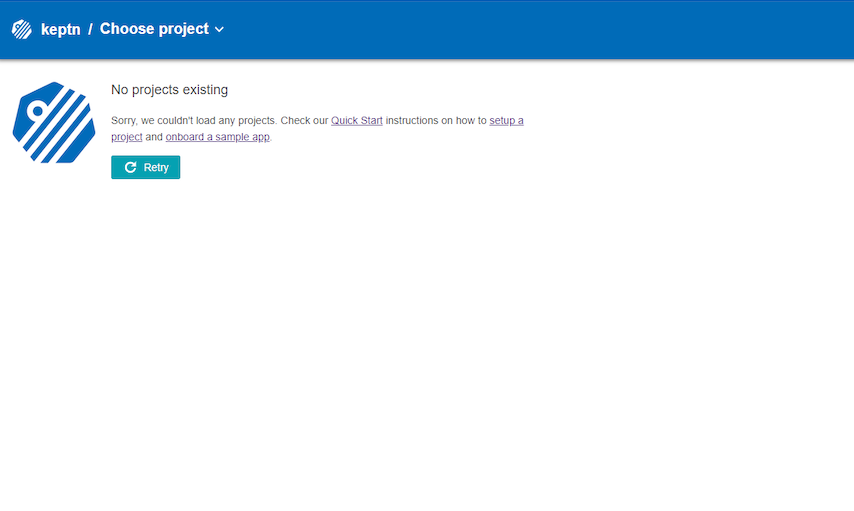
Open a browser and navigate to http://localhost:9000 to take look. The bridge will be empty at this point but when using Keptn it will be populated with events.

Now that you have successfully installed Keptn, you can explore other tutorials!
Here are some possibilities:
- Take a full tour on Keptn with either Prometheus or Dynatrace
- Explore Keptn Quality Gates
- Explore Automated Operations with Keptn